VS Code Editor Setup For Salesforce
Visual Studio Code is the latest IDE for Salesforce Development and believe me it has eased developer’s life by providing rich functionalities. This post will help you to setup VS code editor for Salesforce development.
Downloads :
Installing VS Code Editor
To download Visual Studio Code navigate to link given above. From download page select your operating system and proceed to download. I will suggest you to download most stable version of VS Code Editor.

Once download is complete, install it in the system. Once installation is complete, you’ll see below welcome screen.
While installing make sure to select Add To PATH option.

Now let’s go ahead and download Salesforce CLI.
Installing Salesforce CLI
Salesforce CLI is a command line interface that simplifies development and build automation. VS Code editor uses this interface to connect to Salesforce. Download appropriate version from link given above.

Here as well do not forget to select Set PATH to Salesforce CLI.

Once installation is complete you can verify whether installation was successful or not by entering sfdx command in cmd. You should see below screen, if not try re-installing the executable.

Salesforce Extension Pack Installation
Since we are done with VS Code Editor and Salesforce CLI installation, now we will open VS Code Editor and install extension pack provided by Salesforce to use VS Code Editor along with CLI commands.
This extension pack includes :
- Salesforce CLI Integration
- Apex
- Visualforce
- Aura Components
- Apex Interactive Debugger
- Apex Replay Debugger
- Lightning Web Component
 icon. This is marketplace for VS Code editor. Click on this icon and search for Salesforce Extension Pack. Click on first result and install it.
Now we are done with setup and we can start using VS Code
for development. For that we’ll need to create local project and connect it to
Salesforce.
Connecting To SF Org
Use Ctrl + Shift + P to open Command Pallette or go to the
View -> Command Palette.
Here you can see all available commands by entering SFDX.
For now start writing Create Project With Manifest and press
enter.

Now you'll be prompted to select project type, select
standard and press enter.

Enter project name in next prompt.

Next select location for local copy of the project.
Your project will be created and you'll see the project
structure in the left panel of VS Code which will be similar to the below
image.

This created local copy of project, now we will connect to
your org. For that follow below steps.
Ctrl + Shift + P and type Authorize an Org. And select org type
that ypu want to connect. Here I am going to connect DE org.

Now select alias for your project. This alias is a handy
name to identify your org when working with multiple orgs.
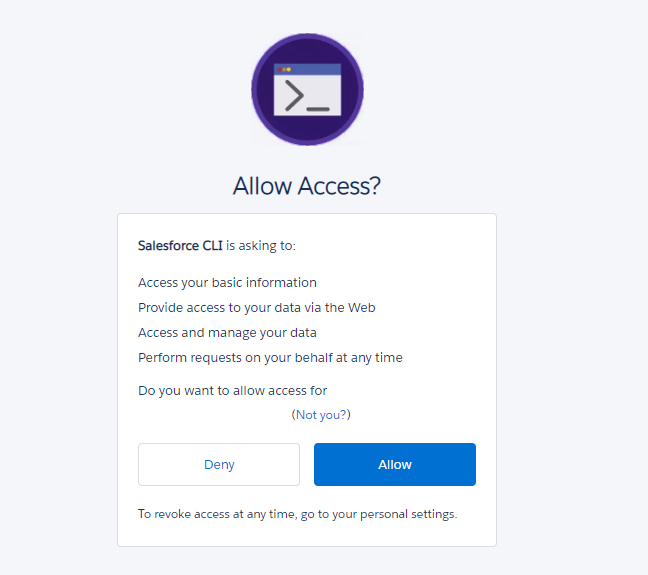
On entering alias you'll be routed to browser for
authentication. Enter org credentials there and allow access.
On successful
login you'll see below message in VS Code Editor.

Now we have connected our org to local project. Now next
step is fetching metadata. For that navigate to package.xml file from explorer
on left panel. This file is located in manifest folder. Right click anywhere in
the file and click SFDX: Retrieve Source in Manifest from Org

Once this process is completed, you will see all components
in the directory. You can open any file, make changes to it and deploy changes
by using SFDX : Deploy Source in Manifest to Org.
Do let me know in the comments if you face any issues.


Comments
Post a Comment